
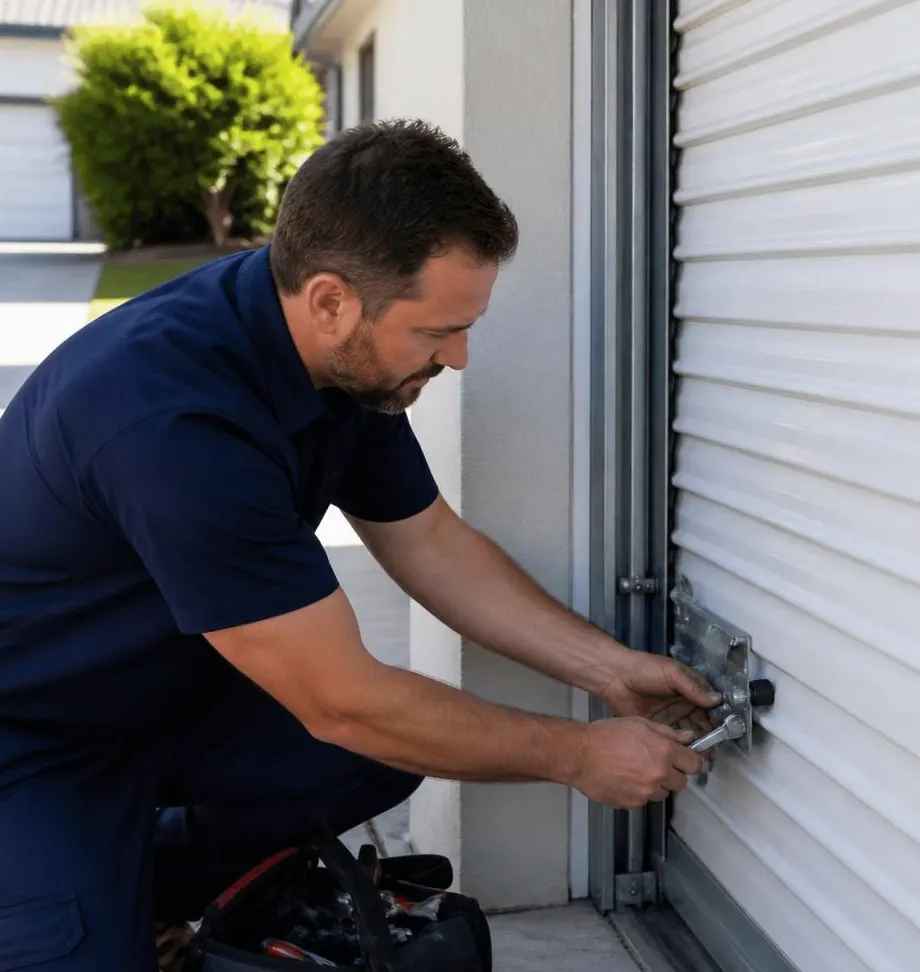
What a Technician Sees on This Call
On a typical weatherstripping call in this area, the pattern is almost always the same. The homeowner noticed daylight along the bottom of the door, or water creeping in during an afternoon downpour, or a line of sand and pine straw sitting just inside the garage. When the tech lifts the door, the bottom seal is cracked and brittle on the sun-facing side, flattened where the door has been resting on it for years, or torn loose from the aluminum retainer track entirely. Sometimes there's a dead palmetto bug or two tucked in the gap — a reminder that a worn seal isn't just a weather problem, it's an open invitation.
The good news: the seal itself is one of the cheapest, most DIY-friendly fixes on a garage door. The trick is knowing where your skills should stop.
Tools You'll Need
- Replacement vinyl seal (T-style or bulb-style, matched to your existing track width)
- Tape measure
- Utility knife or sharp scissors
- Flathead screwdriver
- Wire brush or stiff scrub brush
- Shop vac or broom
- Dish soap and water (as a lubricant) or silicone spray
- Work gloves
Step-by-Step: Replacing the Bottom Seal
- Identify your seal type. Most residential doors use either a T-style seal that slides into a U-shaped aluminum retainer screwed to the bottom panel, or a bulb-style seal that sits in a track built into the panel itself. Check which one you have before buying a replacement — they aren't interchangeable.
- Measure the door width. Add a couple of inches of slack; you'll trim excess later.
- Raise the door and prop it open securely. Never work on the bottom seal with the door resting on its own weight unsupported — use the door's own open position with the opener disengaged, or block it with a sturdy support.
- Pull the old seal out of the retainer or track. It usually just slides or peels free once it's old and dried out.
- Clean the channel thoroughly. Use the wire brush to clear out dirt, sand, dead insects, and corrosion. This step matters more here than it would inland — salt air and humidity leave a gritty residue that keeps new seals from seating properly.
- Dry-fit the new seal before cutting anything, to confirm it feeds smoothly into the channel.
- Cut to length, leaving a small margin on each end.
- Feed the seal into the track starting at one end. A little soapy water on the vinyl makes it slide in instead of binding.
- Lower the door and check the fit. Run a flashlight along the bottom from inside at night — any light leaking through means a gap that needs adjusting.
- Check the side and top weatherstripping while you're at it. If one seal has failed, the others are usually close behind.
What's DIY and What Isn't
Swapping out a worn seal is well within reach for most homeowners with an afternoon and basic tools. Where it stops being a DIY job:
- If the new seal won't sit flush no matter how you trim it, the door itself may be out of square or off its track — a seal can't fix a structural problem.
- If water keeps getting in after a fresh seal is installed, especially during hard rain, the issue may be a bent or rusted retainer track, which is common near the coast where salt air accelerates corrosion on aluminum and fasteners.
- If the door doesn't close evenly — one side touching down before the other — that's often a spring tension or alignment issue, not a weatherstripping issue, and pushing a new seal onto an unbalanced door just wears it out again fast.
When to Call Niceville Overhead Door Co
If you've replaced the seal and still get water, drafts, or daylight, it's worth having it looked at before hurricane season rolls back around. We handle Off Track Door Repair for doors that aren't seating evenly, and our Garage Door Maintenance & Tune-Up covers a full inspection of tracks, rollers, and seals together — since a seal rarely fails on its own without something else nudging it along.
If your garage door is letting in more than it should, give Niceville Overhead Door Co a call. We serve Niceville, Valparaiso, Bluewater Bay, Destin, Fort Walton Beach, Crestview, Freeport, and Santa Rosa Beach — and we're happy to take a look before small gaps turn into bigger repairs.